LANDSCAPES
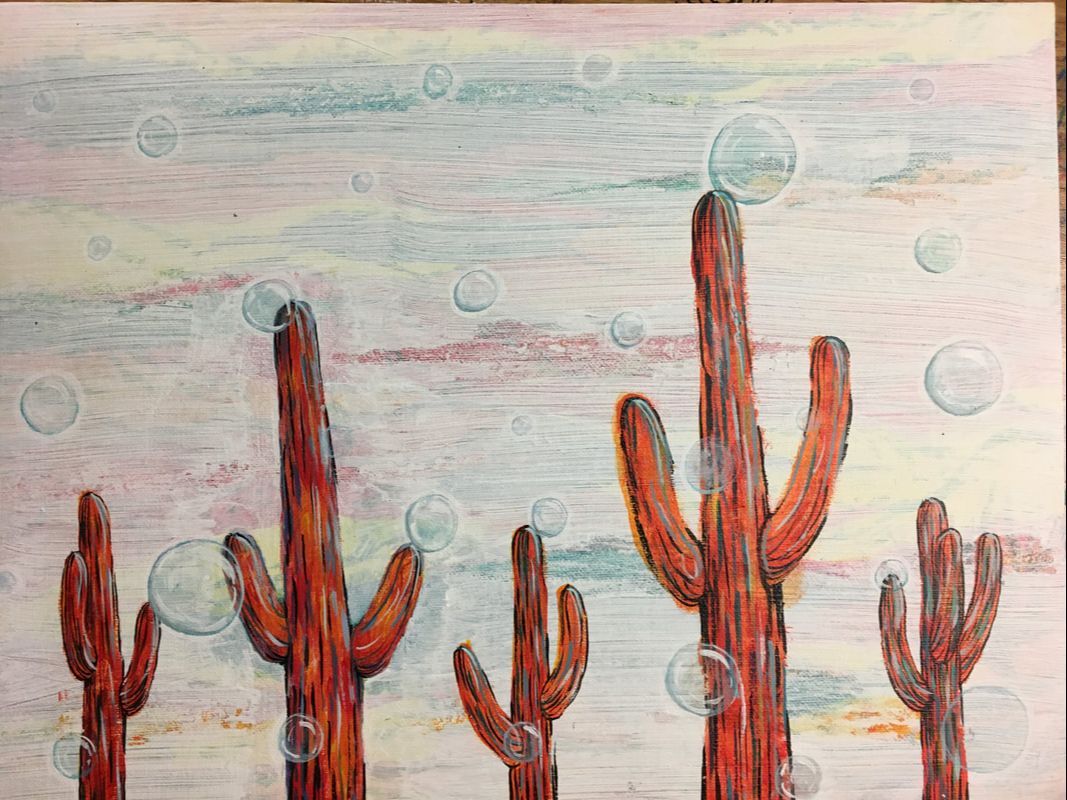
Constraints:
|
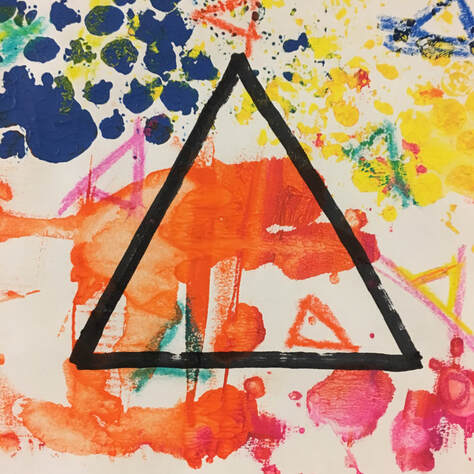
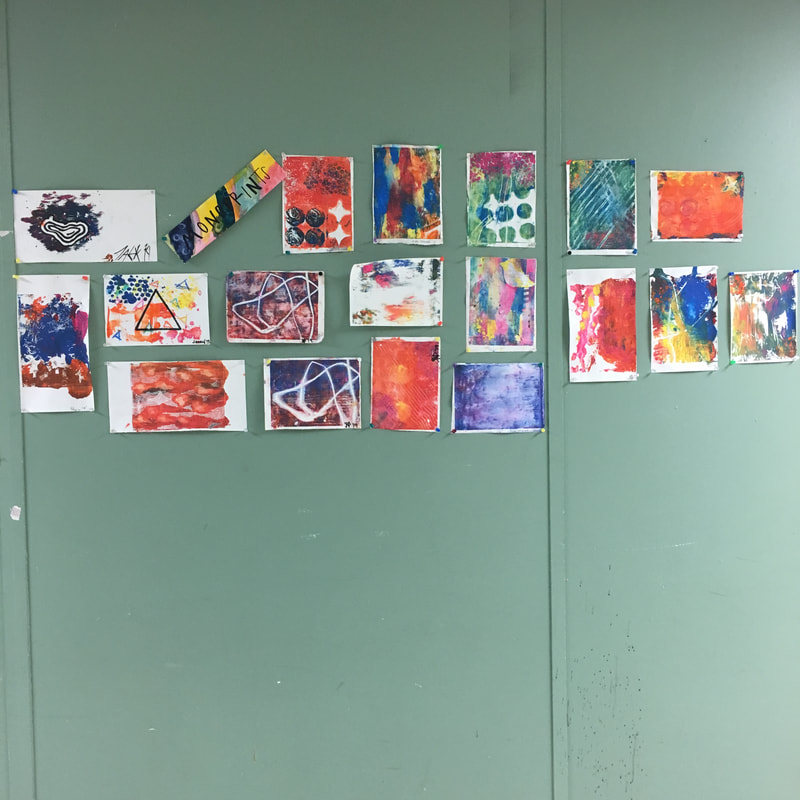
MONO-PRINTING
|
|
Constraints:
- Ink'
- Paper
- Mono-printing machine
- Any materials for doing something over it after you roll it through.
- 5" by 7"
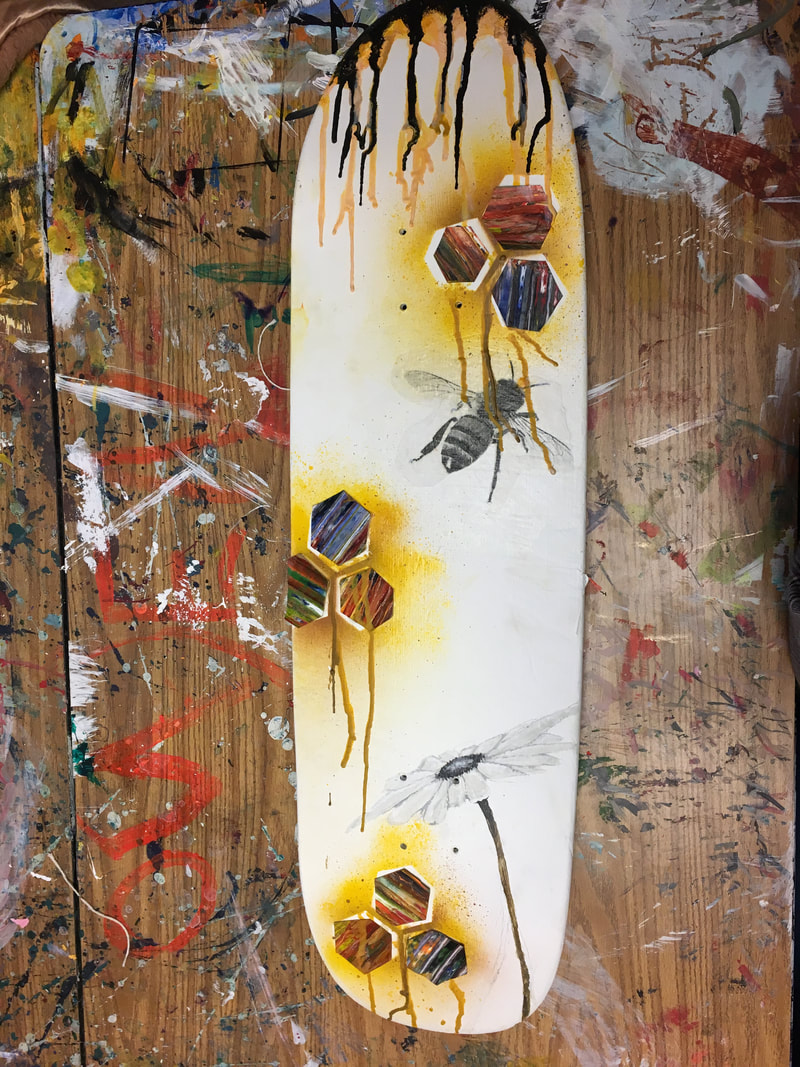
ACRYLIC TRANSFERS
|
|
Constraints:
Unknown |
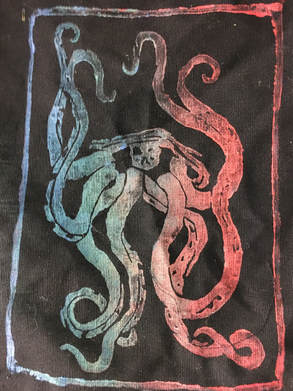
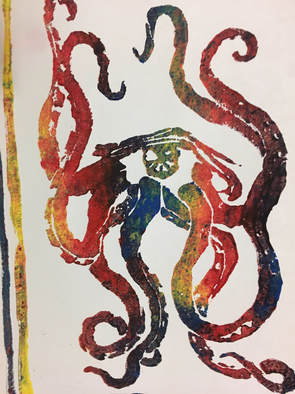
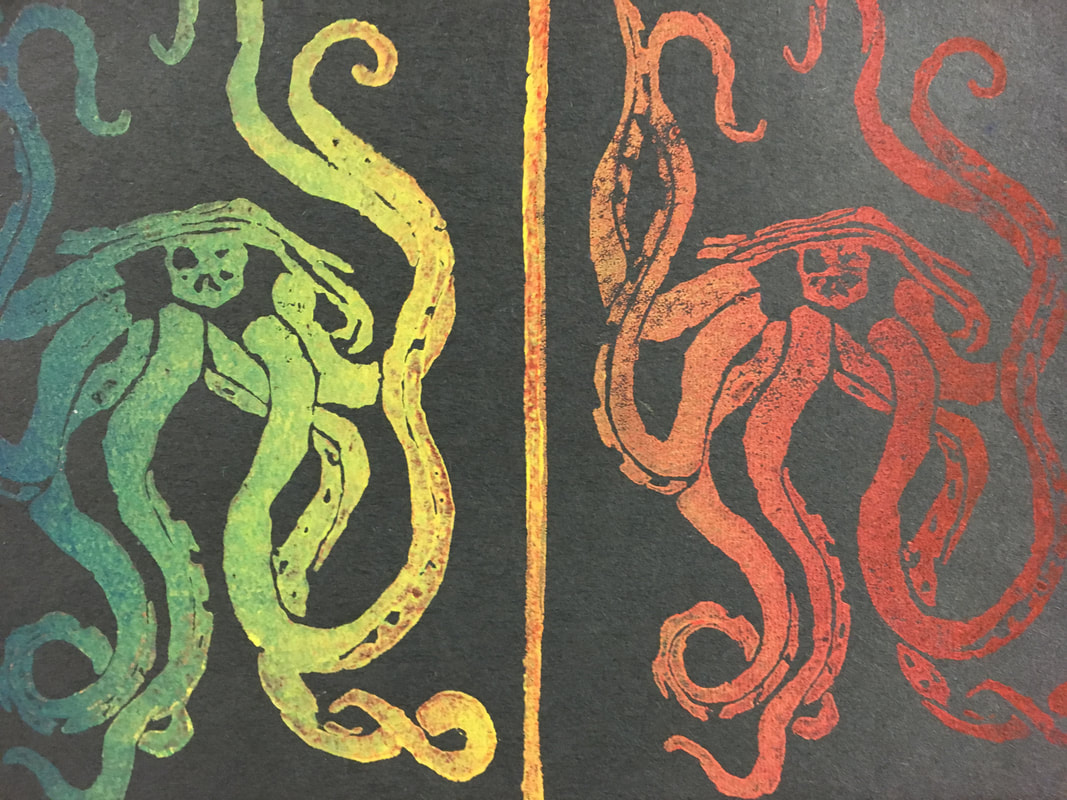
BLOCK PRINTING/ PRINT MAKING PROJECT
|
|
|
REFLECTION
This project required hands- on learning with carving tools and linoleum. We started by looking at famous, an not so famous works of art that were done in this fashion to gain insight on what the final product would look like. After we came up with a few ideas, we sketched (to scale) what we wanted to carve. We learned that the parts that you carve are the negative space, unlike when you are drawing. I started off by figuring out that I wanted to do something with an eye, so I sketched a first draft of my design. The tentacle were originally smaller and had less movement to them. Then, after critique, I drew my second design. After it was approved, I drew it on to my block and then refined. Once I believed it was ready to carve, I traced it with black marker to makes sure I knew where the lines were. Then, I started carving out the bigger, negative spaces, the would move down to smaller carving tool to get my detail. After we finished or carvings, we rolled ink with a roller and then put it lightly on our block. After that, you the places a piece of cloth or paper over it where it i needed, hold it and flip it. Then we press the material onto the block with a spoon to make sure it is fully saturated. We the peeled of the material and let it dry. Then our prints were all ready for matting.
